Table of Content
Roll out the LED strip along the length of the play-field and cut it to the nearest "cut mark" on the strip. Then evenly space out the five 3d printed spacers with the slot facing up and glue them in place. Let the parts glue overnight with clamps and then slip in the LED's into their slot on the prints. The lift generated to levitate the puck is achieved by creating tiny holes all over the playfield in a grid that blows air at high pressure from underneath.
Clean up the area by removing the tape from the whiteboard. After applying wood glue to the frame’s edges and each pillar, carefully slide your board into position. Your scraps should be placed 3″ (7.6 cm) apart and 2″ from the board’s edge. Attach the scraps to the board with standard wood glue and then set the pine board on top to keep the pieces upright while the glue dries. On the whiteboard, use a dry erase marker to create a 1-inch (2.54 cm) grid. At each intersection, drill air holes using a drill and a tiny bit.
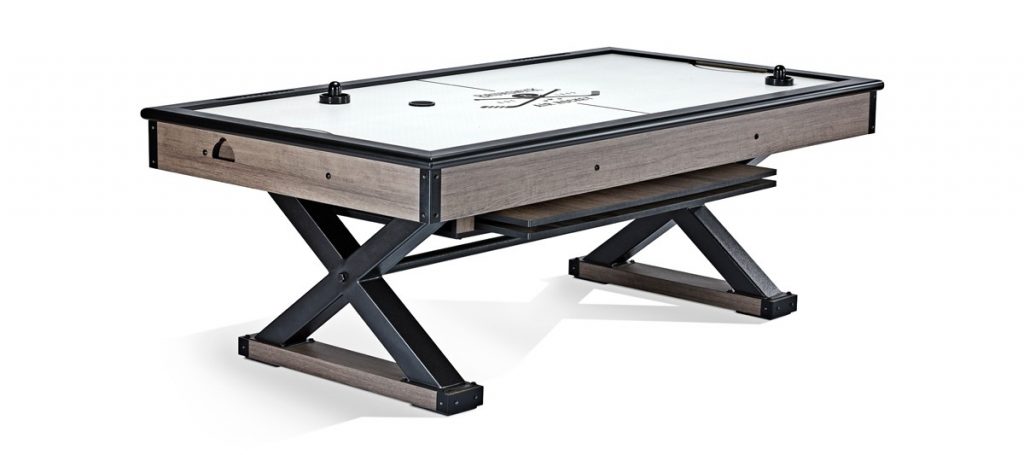
Premium Air Hockey Table Assembly
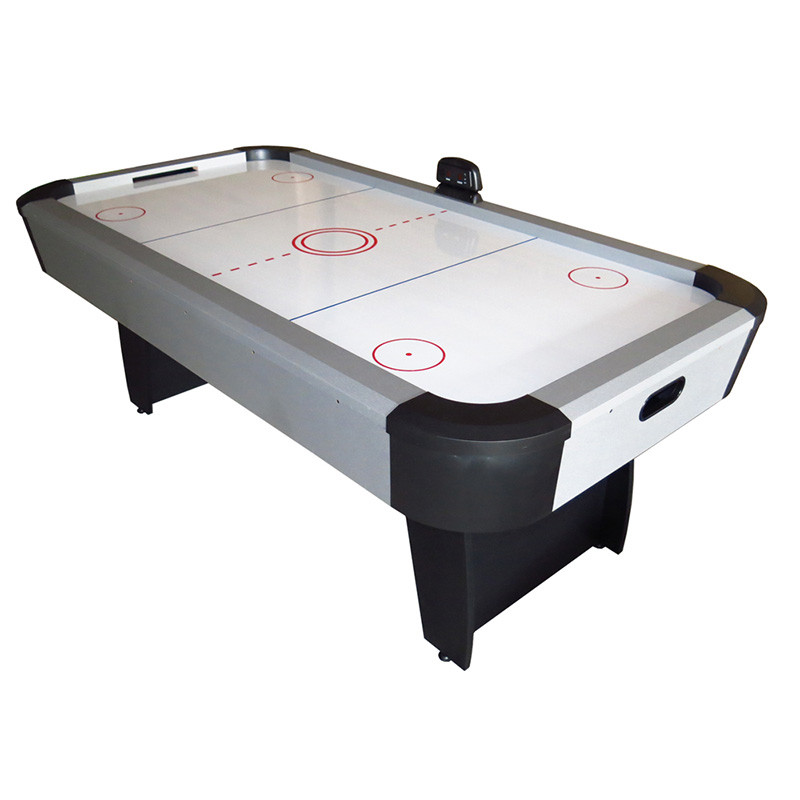
If you want to buy a table, you should first determine how it will fit within your intended space. You’ll need to compare the size of your table to the size of your room to find out how to do this. A set of arcade air hockey tables can weigh up to 350 pounds and are 7 to 8 feet long. Professional air hockey players and amateur air hockey players alike would appreciate these sizes for practice. Larger tables make for an arcade-like experience, while smaller tables may be better for kids or casual players. As you’re searching, eliminate tables that won’t fit in your space or give players enough room to move.
There is a file in the guide link to download the air hockey table prototype designs. Follow the steps carefully and your air hockey table will be ready for use. The first thing is to get cardboard, you can use hard cardboard from a Television Carton.
How long does an air hockey table last?
The most common way a game of air hockey quickly turns into an argument is when you’re determining if a goal counts. As a general rule of thumb, a goal only counts if the puck goes all the way through the slot. It doesn’t count if the puck bounces back out or stops halfway through.

Once you have all of your materials, you can start assembling your DIY air hockey table top. The last step is to attach your air compressor to the table using an air hose and power supply. Then, use a hot glue gun to glue the puck onto the playing surface. You now have your very own air hockey table that you can enjoy with friends and family.
Step 1: Overview of the Playfield
Run another bead of silicon along the join from the outside to ensure it is sealed. Turn the box upside down, and draw around the perimeter carefully, onto the MDF. Cut out this section and check the fit; filing where needed.
This Air Hockey Table is a great way to have competitive fun with friends and family. Anyone can enjoy playing air hockey, and it's easy to set up. This air hockey table was built by the creator from scratch and turned out reliable, fun to play, and durable. The materials you will need to build this are available at home or at your favorite hardware store. It's easy to build and can do it in just a few hours with the right tools. This air hockey table was made by the creator from scratch and it turned out reliable, great fun to play, and durable.
Attach Pillars
Once your pieces are glued and nailed together, you’ll need to drill holes for the air intake and outlet. The size of these holes will depend on the size of your compressor, so make sure to measure accordingly. You’ll also need to cut channels in between each section of the PVC pipe so that air can flow freely from one end to the other.
And the other end can be connected into the led strip's electronic box. As most parts didn't need much strength, we printed them in PLA which we recommend as it is also easy to print. The following list contains the total number of parts and their printing specifications. All the STL files are provided in a folder attached below, allowing one to make their needed modifications if necessary. Paint pucks with paint spray, design an arena sign and print it on paper.
The materials you will need to build this are readily available at home or your favorite hardware store. This video shows some of the woodworking details and goes through the building process. A lot of cutting, mounting, and drilling is done in this video. There are 8 pre-set games, timing, and automatic scoring on this air hockey table. It is seamlessly easy to build and you can do it in just a few hours with the right tools. Follow the instructions in this video to learn how to build your own air hockey table.
This system was made possible through the use of two male and two female power jacks. By following the wiring diagram on the website, you can create your own. The Arduino IDE must be connected to your computer, and the program must be uploaded. After attaching the blower from the side, turn on the engine. You can also keep track of your team’s progress by slamming the puck into the goal.


No comments:
Post a Comment